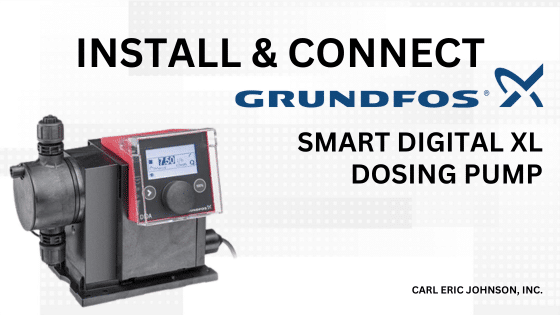
How to Install and Connect the Grundfos Smart Digital XL Dosing Pump
Installing the Grundfos Smart Digital XL Dosing Pump is a critical step in ensuring accurate and efficient chemical dosing for various applications. Follow this step-by-step guide to correctly install your Grundfos Smart Digital XL Dosing Pump:
Before you begin the installation process, make sure you have read the product manual provided by Grundfos. Ensure that you have all the necessary tools and safety equipment required for the installation.
Step 1: Safety Precautions
Safety should always be your top priority. Follow these safety precautions before starting the installation:
- Turn off the power supply to the installation area.
- Wear appropriate personal protective equipment (PPE) such as gloves, safety goggles, and any other necessary gear.
Step 2: Location Selection
Choose an appropriate location for the dosing pump. Consider the following factors:
- Proximity to the chemical storage area.
- Adequate ventilation to disperse any fumes or gasses.
- Access to power and the necessary plumbing connections.
Step 3: Mounting the Pump
Mount the Grundfos Smart Digital XL Dosing Pump securely to a stable surface or a wall using appropriate hardware. Ensure that the mounting surface can support the weight of the pump.
Start by attaching the base plate, Smart Digital XL Pump, and the hydraulic connections. You’ll see two pump screws attached to the base plate – set those aside.
Using four screws that match the system material, install and tighten the screws in all four corners of the base plate. Place the pump flush against the base plate, leaving the pump hanging slightly over the back edge.
Push the pump forward in the direction of the dosing head until you hear a click. That “click” means the pump is seared on the base plate correctly. Install and tighten the two pump screws to secure the pump to the base plate.
Step 4: Plumbing Connections
Make sure you do not use metal tools for this step – they can damage the material.
Now you can install the suction and discharge connections for the hydraulic end of the pump by putting the insert down on top of the “O” ring and hand-tightening the union nuts. Repeat on the other side.
Once the suction and discharge connections are in place, position the control tube so that the display is easily viewed. This is done by removing the top two tabs and screws. Once you have removed the screws, it is safe to reposition the control tube to the center front and back.
Once you have the control cube in the desired position, reinsert the screws, tighten them down and insert the tabs. You have successfully completed the physical installation of the pump and hydraulic end.
Step 5: Electrical Connections
Take a look at the cable sockets on your pump. Notice how they match what is in your instruction document. Each cable socket has a unique configuration that matches its appropriate control cable. This ensures that the cables are only attached to the correct socket.
Take this time to match your control cables with the appropriate sockets based on your specific instruction document and connect each one.
Step 6: Program the Pump
The Grundfos Smart Digital XL Dosing Pump may require programming to set the dosing rate, dosing schedule, and other parameters. Refer to the product manual for detailed instructions on how to program the pump using the control panel or any accompanying software.
Step 7: Calibration and Testing
Calibrating your Grundfos Smart Digital XL Dosing Pump is important to ensure proper functionality and dosing. The calibration process requires a calibration column correctly opening and closing isolation valves and the dosing pump.
To prepare for calibration, there are a few steps to complete first.
The following steps are for flooded suction installations. In normal operation, the calibration cylinder isolation valves are closed. Open the isolation valves to allow the calibration to fill under pressure from the elevated chemical tank. Close the isolation valve to the system when the liquid has reached the zero milliliter mark.
Warning: Be careful not to overfill the calibration column to avoid spilling chemicals out of the top.
- Let’s begin: Start the calibration in the pump setup menu. From the home screen, use the click wheel to scroll over to the gear icon. Push the click wheel to enter the setup menu. Scroll down to calibration and once highlighted, push the click wheel to enter the calibration submenu.
- Scroll down to highlight Start. Press the click wheel to begin calibrating. The liquid level in the calibration column begins to lower as chemicals are pumped.
- Notice the pump automatically highlights the word STOP once the liquid reaches the 1,000 milliliter mark on the calibration column. Manually stop the pump by pushing the click wheel.
For an example of a successful calibration, please watch this video: https://product-selection.grundfos.com/us/products/dosing-pumps-digital?tab=documentation. Before normal operation, be sure to close the calibration isolation valve and open the system inlet valve.
Monitoring and Maintenance
Regularly monitor the dosing pump to ensure it is functioning correctly. Follow the maintenance schedule outlined in the product manual for routine checks, cleaning, and parts replacement as necessary.
Safety Checks
Always be mindful of safety when working with chemicals and dosing equipment:
- Wear appropriate PPE when handling chemicals.
- Keep the area well-ventilated.
- Ensure that the chemical storage and disposal comply with local regulations.
For troubleshooting and further maintenance instructions, consult the product manual or contact Grundfos customer support for assistance.

